Your Mac is secured with a password, Touch ID, or Apple Watch authorization, but that doesn’t guarantee privacy from curious kids, friends, or colleagues.
If you want to hide sensitive files and folders, macOS offers built-in methods—and for extra security, third-party tools can add password protection.
Using Built-in macOS Tools
1. Show Hidden Files:
Press Shift + Cmd + . (period) in Finder to toggle hidden files on or off.
2. Hide Files by Renaming:
- Select a file or folder.
- Add a period (.) at the beginning of the name.
- Press Enter and confirm.
- Press Shift + Cmd + . again to fully hide it.
To unhide, remove the period and restart Finder by running killall Finder in Terminal.
3. Hide Files via Terminal:
- Open Terminal and type:
chflags hidden [file/folder path] - To unhide, use:
chflags nohidden [file/folder path] - Restart Finder with killall Finder if needed.
Using Third-Party Software
Funter: A free menu bar tool that toggles hidden files on or off with a single click.
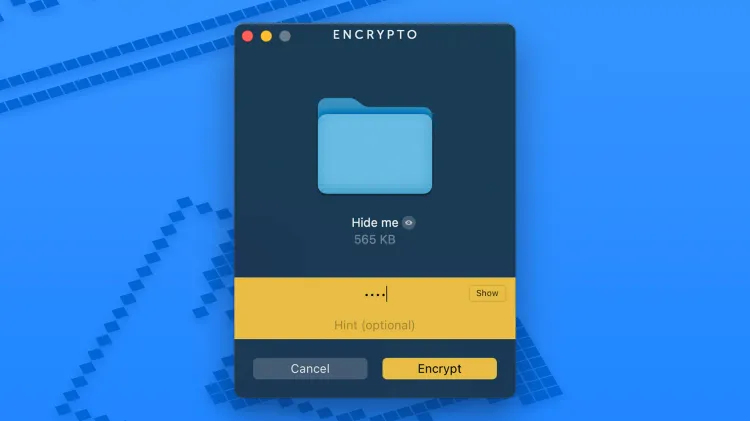
Encrypto: A powerful encryption tool that lets you lock files behind a password:
- Drag and drop files into Encrypto.
- Set a password and click Encrypt.
- Save the encrypted file anywhere.
To access encrypted files, double-click them and enter your password.
Final Thoughts
For basic file hiding, macOS shortcuts work well. But for stronger security, Encrypto adds password protection—and combining both methods ensures maximum privacy for your sensitive files.


Leave a comment