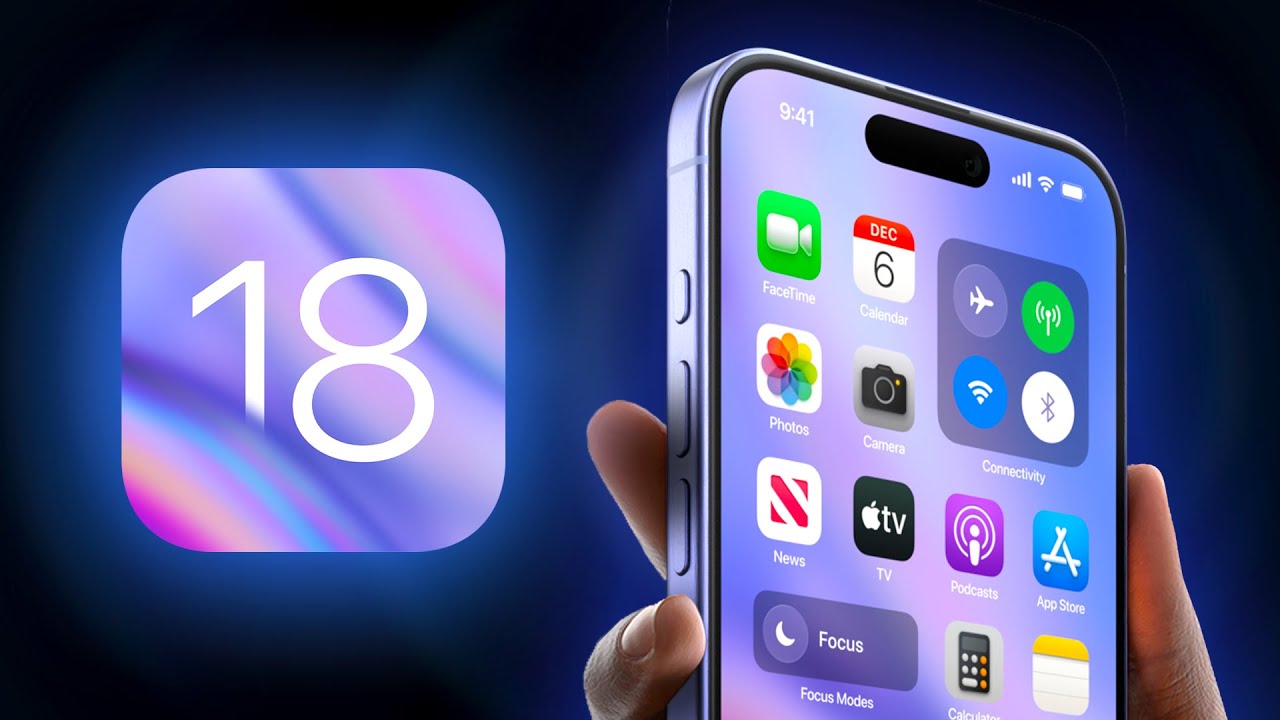
Apple’s iOS 18 update has brought a long-requested feature to iPhones: the ability to schedule text messages. Known as “Send Later,” this feature lets you schedule messages in advance, ensuring you never forget important reminders or celebrations like birthdays.
The feature debuted with iOS 18 in September 2024 and was further improved in iOS 18.1, which rolled out in October, adding new capabilities like call recording. Here’s everything you need to know to start using this handy tool.
How to Use “Send Later” in iOS 18
- Open the Messages app.
- Select the chat where you want to send the message.
- Tap the + (plus) icon near the text box.
- Choose Send Later. (If you don’t see this, tap More to reveal the option.)
After selecting “Send Later,” a blue bar will appear above the text box, displaying the scheduled delivery time. You can tap this bar to adjust the date and time, but note that messages can only be scheduled up to two weeks in advance.
Once you’ve set the time:
- Tap the text box to open the keyboard.
- Type your message and hit Send.
Editing or Canceling Scheduled Messages
Scheduled messages appear in the chat with a dotted outline and a timestamp showing when they’ll be sent. If you need to make changes:
- Tap Edit next to the scheduled message.
- Choose from the following options:
- Send Message immediately.
- Edit Time to reschedule.
- Delete Message if it’s no longer needed.
To edit the content of the scheduled message, long-press the message and tap Edit, just as you would with sent messages.
Why It’s Useful
With “Send Later,” you can plan ahead for birthdays, reminders, or work messages without worrying about forgetting them. Although it has a two-week limit, it’s a simple and effective tool for staying on top of your communications.
For more updates on iOS 18, check out our reviews and what to expect in future updates like iOS 18.2.


